How to access checkout settings?
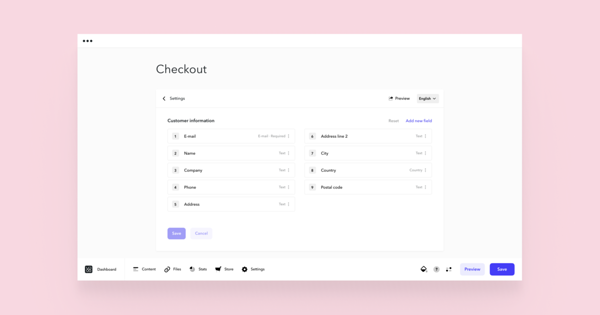
To view checkout settings, go to Store > Settings > Checkout.Here, current fields are displayed in the order they appear at checkout. You may add, customize or delete/hide fields in this view and preview your checkout form by clicking Preview at the top. To reset the fields to their default state, click Reset.
How to add a new field?
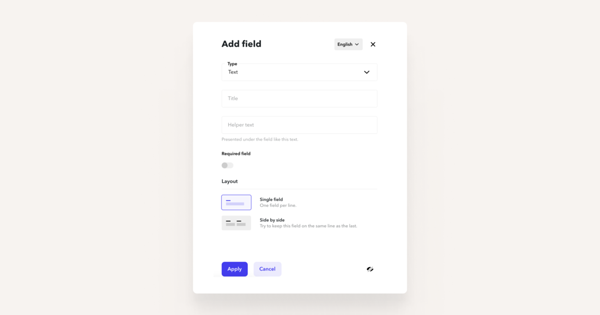
Click on Add new field link on the top right. Fill out the fields in the dialog that appears and click on Apply button at the bottom of the page or press Ctrl/⌘+S.How to customize a field?
Customize a field by clicking on it, which opens up a settings dialog. Under Type you can select the field type. Layout determines how fields are laid out. If you select 'Single field', the field will always be placed onto a separate line. Selecting 'Side by side' allows two fields to be placed on the same line, depending on the customer's screen width. To view your current layout, take a look at the preview option described above.How to delete a field?
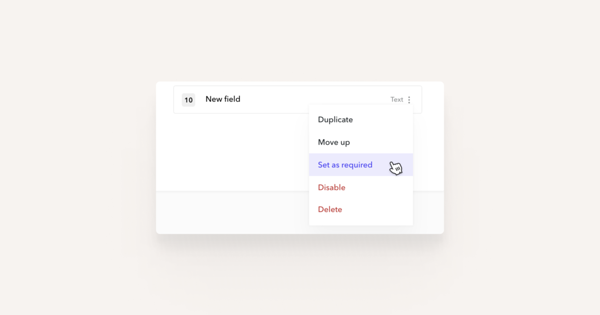
Only fields that you have created can be deleted. System fields can only be disabled (thus hidden), but not deleted. There are two options to delete or hide a field:- Click on the three dots next to the field and select Disable or Delete.
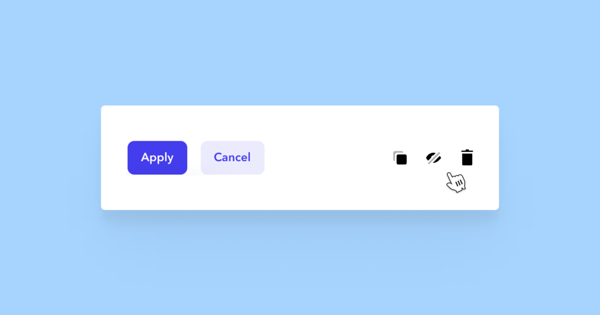
- Click on the field; in the options dialog, click on the eye or trashcan icon.
How to change the order of the fields?
To reorder your fields, click on one of your fields and drag it to your preferred location.How to require filling in a field?
Again, there are two options to do so:- Click on the three dots next to the field and select Set as required.
- Click on the field and select the Required field option from the options dialog.
How to translate fields?
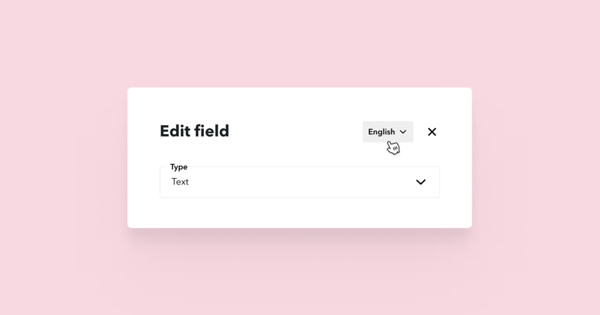
Translate the field's title and helper text by clicking on the field and selecting a language from the top-right corner. Only translatable properties remain editable.NB: Don't forget to press the Save button after changing your checkout fields.
