One of the powerful tools for understanding your website's performance is Google Analytics.
This guide explains how to add Google Analytics to your Voog website.
Log into your Google account in the Google Analytics environment. Click on the button labelled Get started today, then on Start measuring in the window that appears. Initially, you're allowed to set up your account, and once your initial setup is complete, you will be guided to the Start collecting data view. Here, you should choose the Web as your platform. In the following view, you will be able to input the details of your website.
When entering your website's address, use the domain you intend to promote and the https:// prefix.
For instance, if you wish to showcase your website with "mycompany.com", then you should add it to Google Analytics as "https://mycompany.com", not as "mycompany.voog.com" or "https://www.mycompany.com".
Once your account is registered, a code, or what is known in Google terms as a global site tag, is generated for you, which would look something like this:
<!-- Global site tag (gtag.js) - Google Analytics -->
<script async src="https://www.googletagmanager.com/gtag/js?id=UA-123456789-1”></script>
<script>
  window.dataLayer = window.dataLayer || [];
  function gtag(){dataLayer.push(arguments);}
  gtag('js', new Date());

  gtag('config', 'UA-123456789-1');
</script>
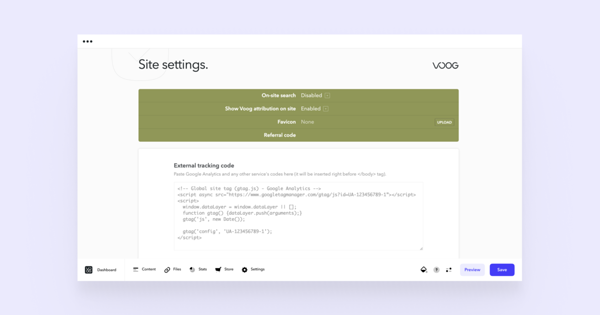
Copy the code, go to your Voog page, and choose Settings > Site. Paste your Global Site Tag tracking code into the field of External tracking code and press the Save button below.
Keep in mind that after adding the Google Analytics code to your website, Google may take a few days to activate your account and for you to start seeing results. You can read more about this on Google's official page.
For more details about e-shop event tracking, check out this guide.
NB! When you add a third-party widget to your site, which gathers user data, the visitors must be aware of that activity. See our guide about cookie notifications here.
