Uploading pictures to my Voog site
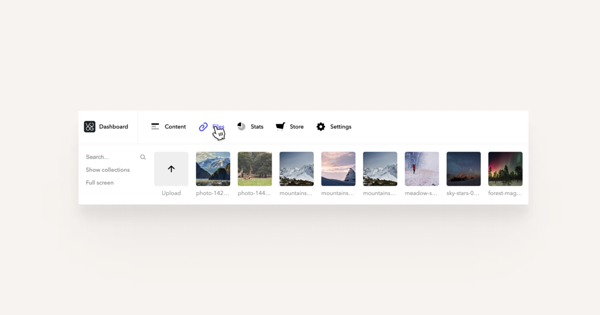
Uploading pictures can be done exactly the same way as uploading any other kind of documents to your Voog site. Just open the Files menu and click on the Upload icon.
A browser will open with which you can select your files from your computer and then initiate the uploading process by clicking Open.
Alternatively, you can also drag and drop your files from your computer into the 'Files' menu.
How do I add a picture from my files menu into my Voog page?
There are two different ways to add a picture to your Voog page. One is by simply adding large images, one at a time, to your content area and the other one is by creating a gallery for multiple images.
To learn how to create galleries, see the Picture galleries chapter.
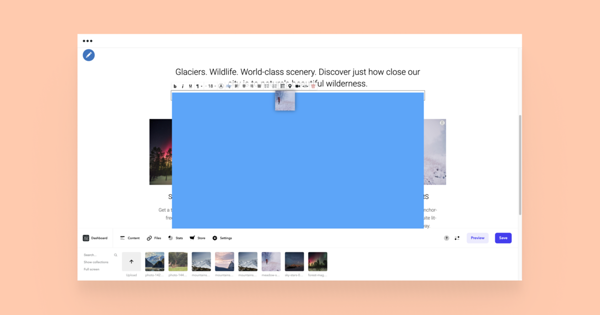
To add a large image to your content area, begin adding a Text content area to your page. Then, open the Files menu, find the image and drag it into the previously added content area.
A blue line indicates where your image will be approximately placed. You can also choose the alignment of the image as you place it, note for the small indicators on the blue line. If you place the image either to the left or the right side of the content area, it will be resized to fit next to the text. In case you choose to add it in the middle of the content area, it will be scaled to have 100% of the content area width.
Once you have placed the image, you may click on it to activate the image toolbar. It consists of the following tools:
- Linking tool to make your image into a hyperlink. See our guide about creating links here.
- Background colour tool to spice up your images with a preferred shade of colour.
- Moving function for adjusting your image inside a smaller frame than its original size.
- Title tool for enabling and disabling the image title area.
How can I remove an image from my page?
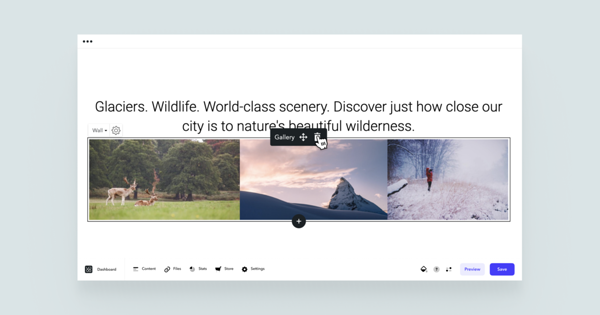
To remove an image gallery from the rest of the content, simply move on to the content area and click on the recycle bin icon that appears at the top or
grab it from its header and drag it into the little recycle bin icon on the bottom right corner of the page. Just like it works with any other content area on your site!
However, if you have the image in a content area that you don't wish to delete as a whole, simply click on the image and press backspace. Just like you would when you edit texts.
How to avoid long loading times with image selection?
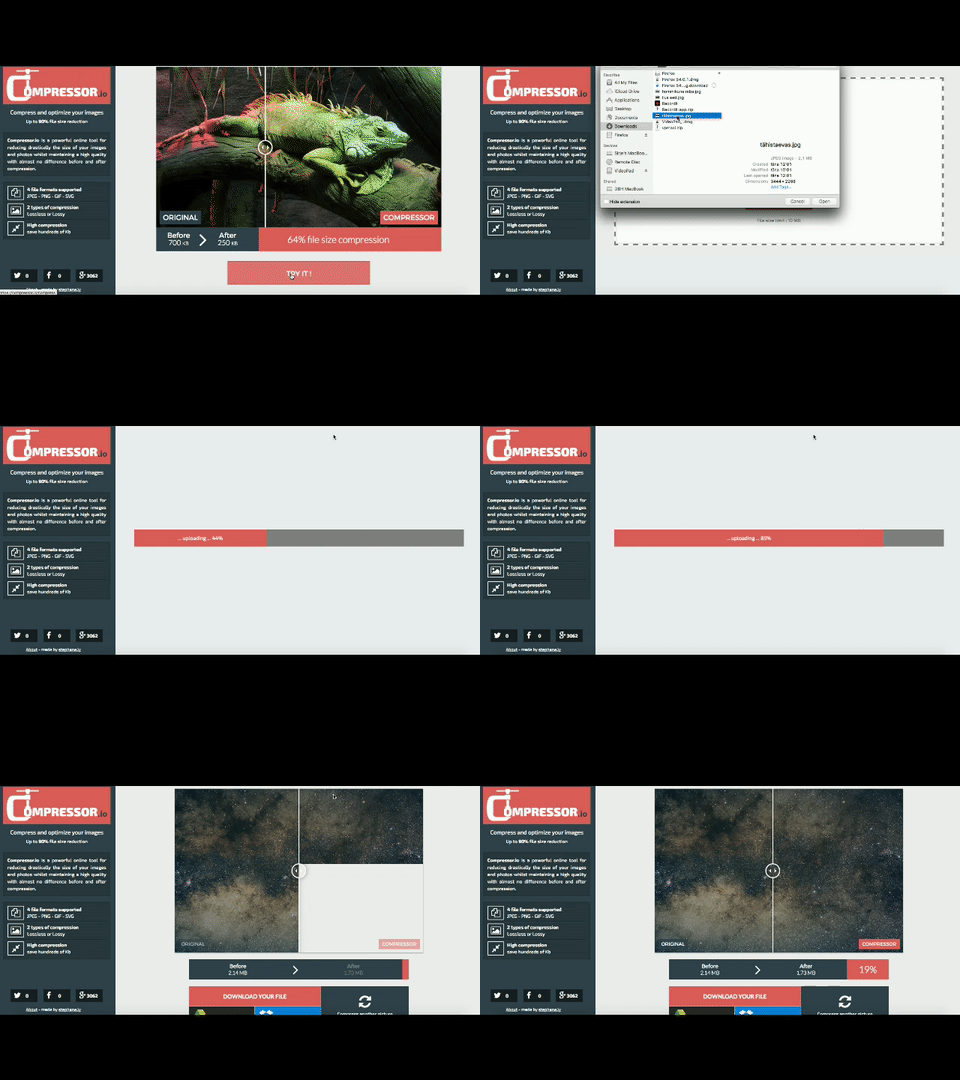
High-resolution images (over 1 megabyte) should be compressed before uploading. There are many programs out there to use, even straight in your browser, such as compressjpeg.com, optimizilla.com and compressor.io.


