With the intent of bringing more customization options into the hands of non-developers, Voog offers an easy to use design editor on our standard designs.
Activating the design editor
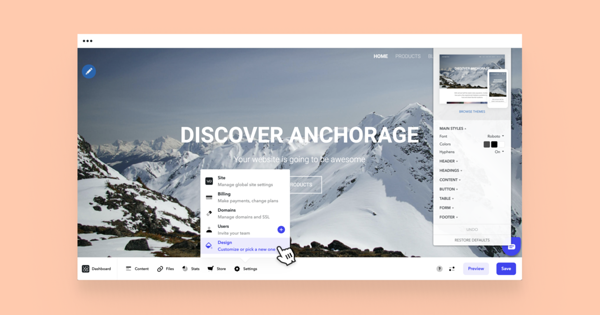
Open the Settings > Design menu. The design editor interface will pop up on the right side of your website. You can drag it across the page for a convenient position.
Switching a previously customized design to a standard one
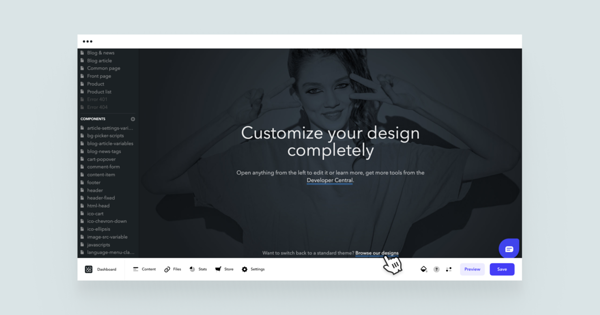
If you have previously customized your Voog standard design and wish to roll back on to one of our supported designs, click on the Settings > Design from the menu and select Launch code editor. Then, find the link at the bottom of the page called "Want to switch back to a standard theme? Browse our designs".
From there, you'll be able to select any of the available Voog standard designs for your website. Do note that rolling back to a standard design will result in removing customizations such as social media widgets, stylesheet changes etc. from your design.
Design editor basic functions
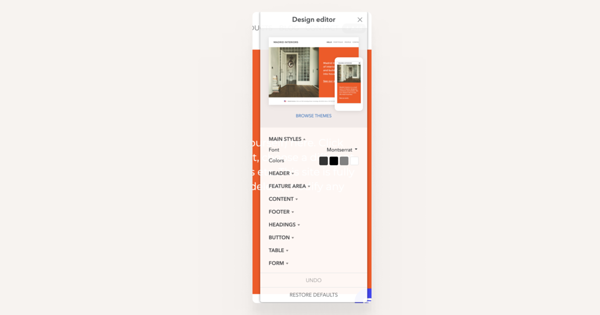
The Voog design editor allows you to customize your design completely — you can edit the main styles (content width, global font), site header, footer and specifics like content areas, links, list, table and form styles.
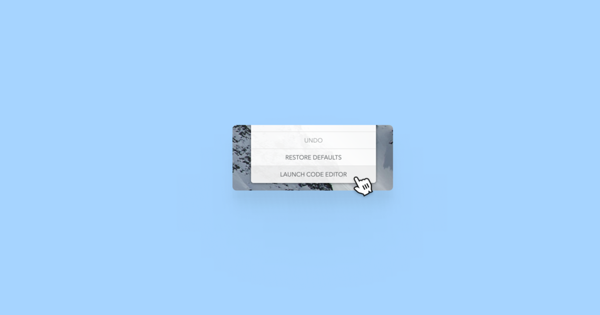
You can always undo any changes one at a time or restore to the design defaults with one click.
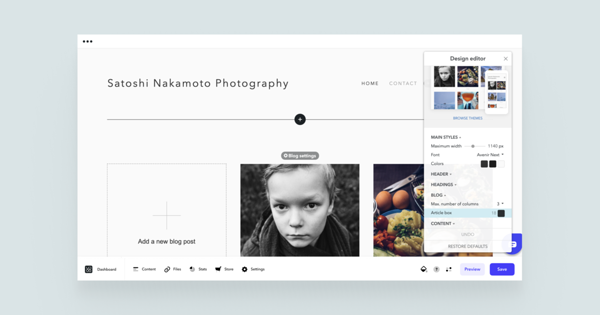
Depending on the design, you can also customize your blog listing. For example, on the Sapporo design, you can turn the blog article grid from squares to circles.
Launching into the code editor from the design editor
Open the Settings > Design menu — this will open up the design editor. Then, find the link Launch code editor at the bottom of the design editor.
